Homemade Peanut Butter Cups with Oats
Highlighted under: Sweet Oven Stories
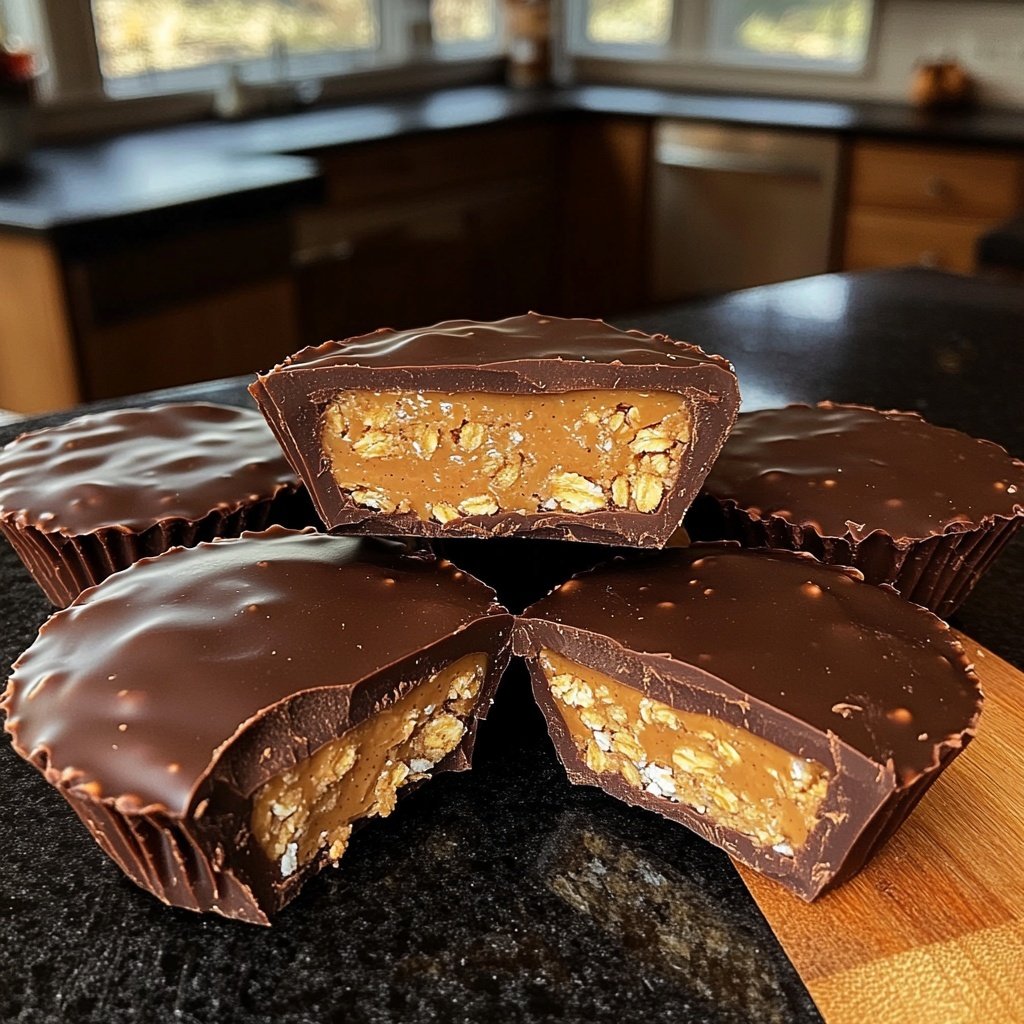
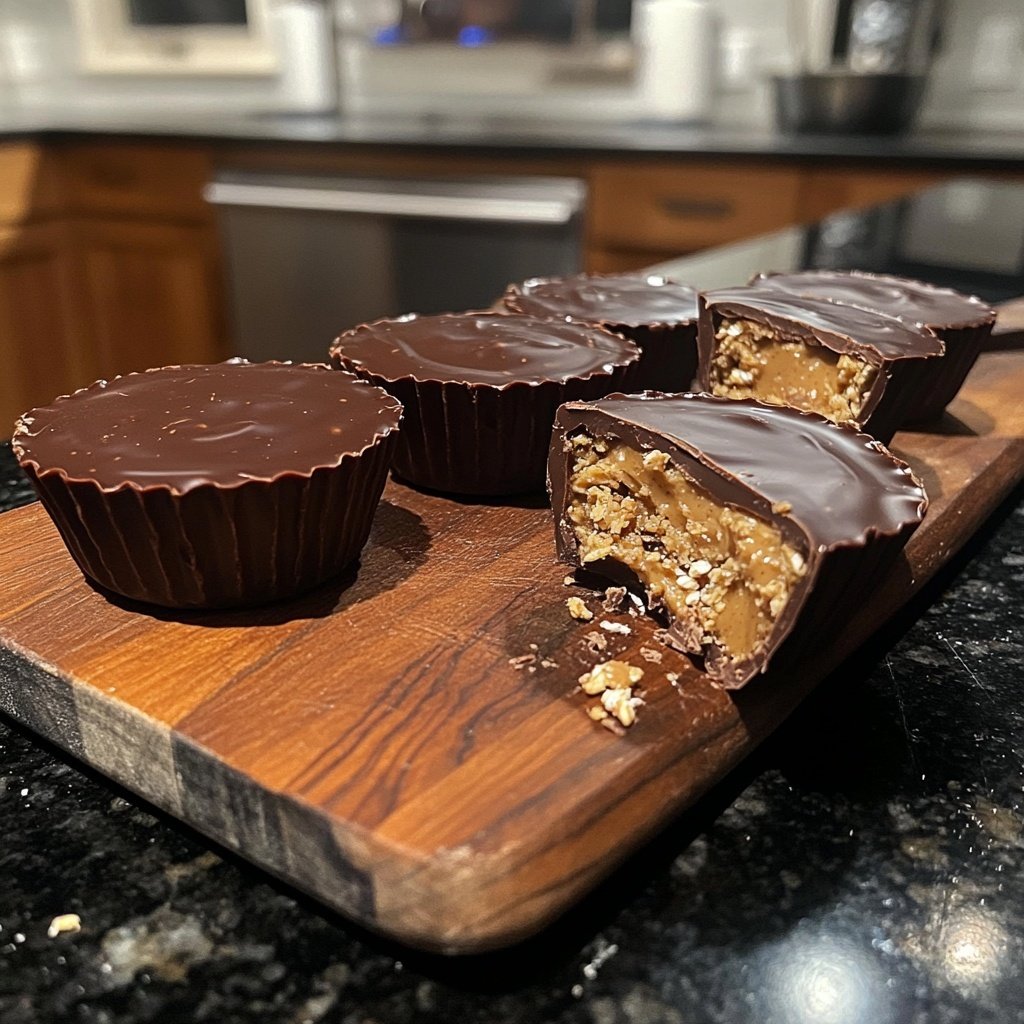
I absolutely love making my own peanut butter cups, especially when they include nutritious oats. The combination creates a deliciously satisfying treat that packs a fun crunch. With just a handful of ingredients, I can whip these up in no time. They’re perfect for satisfying my sweet tooth without the guilt. Plus, they make a wonderful snack for both adults and kids! Give them a try, and you might never reach for store-bought ones again.
Making these homemade peanut butter cups has become a staple in my kitchen. I started experimenting with various recipes and found that incorporating oats not only adds texture but also boosts the nutritional value of this treat. One of my favorite aspects is that I have control over the sweetness, allowing me to create a balanced flavor without relying on excessive sugar.
One tip I discovered is to let the melted chocolate cool slightly before pouring it into the molds. This prevents the layers from mixing and creates a beautiful separation between the peanut butter and chocolate. Trust me, these little adjustments can make a big difference in your final product!
Why You'll Love This Recipe
- Deliciously creamy peanut butter blended with hearty oats
- Rich chocolate coating that melts in your mouth
- Perfect for a quick snack or delightful dessert
Tips for Perfecting Your Peanut Butter Cups
When making your peanut butter cups, the quality of the chocolate you use is crucial. Opt for high-quality dark chocolate with at least 70% cocoa content for a richer flavor and smoother texture. If you are sensitive to sugar, consider using unsweetened chocolate and adjusting the sweetness of the peanut butter mixture accordingly. This can enhance the chocolate's flavor while keeping the cups deliciously balanced.
Melting chocolate can be tricky; it’s essential to do it slowly to avoid burning. If using a microwave, heat the chocolate in 30-second intervals, stirring in between until glossy and fully melted. When using a double boiler, ensure the bowl does not touch the simmering water directly, as steam can introduce water into the chocolate, causing it to seize. The right technique ensures a silky coating that adds the perfect finishing touch.
While chilling, ensure the molds or muffin tin are placed evenly in your refrigerator to prevent uneven setting. If you’re in a hurry, setting them in the freezer for about 10 minutes can expedite the process. However, monitor them closely to avoid them becoming too hard. Once set, they should be firm yet slightly yielding to the touch for the perfect bite.
Ingredient Substitutions and Variations
If you're looking for a nut-free option, almond butter or sunflower seed butter can be excellent substitutes for peanut butter. They provide similar creaminess and flavor, while sunflower seed butter is an allergy-friendly option for those with nut sensitivities. Be aware that the taste will vary slightly but still deliver a delicious treat.
For a maple syrup-free version, try agave nectar or brown rice syrup as alternatives. These sweeteners provide a similar consistency and sweetness level; however, they may slightly alter the flavor profile. Make sure to adjust the amount to your taste, as some sweeteners are more potent than others.
You can customize the oat filling by adding mix-ins like mini chocolate chips, dried fruit, or even a pinch of sea salt for a sophisticated touch. If you prefer a softer texture, consider using quick oats instead of rolled oats, as they blend into the filling more smoothly. This allows for a different mouthfeel that some may find appealing.
Storing and Serving Your Peanut Butter Cups
Once your peanut butter cups are ready, store them in an airtight container in the refrigerator, where they can last for up to two weeks. If you want to keep them longer, they freeze well! Just layer them with parchment paper and place them in a freezer-safe container. They can last up to three months in the freezer, making them perfect for prepping ahead for snacks or treats.
To serve these treats at a gathering or as a gift, consider slicing them into smaller pieces before serving. This allows guests to enjoy a taste without committing to a whole cup. Another fun idea is to drizzle extra melted chocolate on top or sprinkle crushed nuts for an appealing presentation that elevates your homemade creation.
If you have kids, involving them in the assembly process can be a fun activity. They can help scoop the filling and pour chocolate, and watching them enjoy their creation is genuinely rewarding. Customizing the flavors together—perhaps adding their favorite mix-ins—makes these peanut butter cups a family project everyone can appreciate.
Ingredients
Gather these simple ingredients to make your own peanut butter cups.
Ingredients
- 1 cup peanut butter (creamy or crunchy)
- 1/2 cup rolled oats
- 1/4 cup honey or maple syrup
- 1/2 teaspoon vanilla extract
- 1 cup dark chocolate chips
Measure your ingredients accurately for the best results!
Instructions
Follow these straightforward steps to create delicious peanut butter cups.
Prepare the chocolate coating
Melt the dark chocolate chips in a microwave or a double boiler until smooth. Allow it to cool slightly.
Make the filling
In a bowl, combine the peanut butter, rolled oats, honey, and vanilla extract. Mix well until you achieve a uniform consistency.
Assemble the cups
Pour a layer of melted chocolate into the bottom of a muffin tin or silicone mold. Use a spoon to spread it evenly.
Add the filling
Scoop the peanut butter mixture into each mold, covering it with the remaining melted chocolate.
Chill to set
Refrigerate the molds for at least 15 minutes, or until the chocolate has fully hardened.
Serve
Carefully remove the cups from the molds and enjoy your delicious homemade peanut butter cups!
Enjoy your homemade treats!
Pro Tips
- Feel free to experiment with different nut butters or add-ins like shredded coconut or chopped nuts for extra texture.
Troubleshooting Common Issues
One common issue that can arise when making peanut butter cups is chocolate seizing, which happens when moisture gets into the chocolate. To avoid this, keep all utensils and bowls dry. If you experience this, you can sometimes salvage it by adding a small amount of coconut oil or vegetable oil to the chocolate, stirring until it returns to a smooth consistency.
Another potential pitfall is overfilling the molds. When you add the peanut butter mixture, be sure to leave some space for the chocolate layer on top to avoid overflowing. A general rule is to fill the molds about three-quarters full with the peanut butter mixture before adding the remaining chocolate.
If the chocolate coating doesn't harden as expected, it could be due to using chocolate with lower cocoa solid content or high moisture content in the peanut butter mixture. Ensuring you're using quality chocolate and the right ratios can help achieve that satisfying snap when bitten into.
Make-Ahead Tips
These homemade peanut butter cups can be made well in advance, making them a great option for meal prep or for special occasions. Consider preparing a larger batch and storing them, so you always have a healthy treat on hand. Just ensure they’re stored properly with adequate spacing to prevent sticking, either in the refrigerator or freezer.
For even easier prep time, you can double the recipe and use different types of fillings or chocolate. Experimenting with flavors, like adding protein powder or spices like cinnamon or nutmeg, can also yield unique and delicious variations. Each batch can become a new flavor experience that satisfies your cravings.
When planning ahead for events, allow the cups to set thoroughly before removing them from the molds to maintain their shape. A little patience will go a long way in serving beautifully formed peanut butter cups that everyone will admire before they inevitably indulge.
Serving Suggestions
These peanut butter cups can be enjoyed on their own as a sweet snack, but they also make a wonderful addition to a dessert platter. Pair them with fresh fruit like strawberries or banana slices, and perhaps some Greek yogurt, to create a balanced spread that satisfies both the sweet and savory craving.
Another fun serving idea is to create a DIY dessert bar. Provide toppings such as crushed cookies, sprinkles, or shredded coconut, allowing guests to personalize their peanut butter cups. This interactive approach makes dessert enjoyable and encourages creativity, perfect for parties or family gatherings.
If you're looking to elevate them further, consider drizzling caramel sauce or a sprinkle of flaky sea salt on top right before serving. It adds an additional layer of flavor that will enhance the richness of the chocolate and the creaminess of the peanut butter, making for an unforgettable treat.
Questions About Recipes
→ Can I use milk chocolate instead of dark?
Yes, milk chocolate can also be used for a sweeter flavor.
→ How long do these peanut butter cups last?
They can be stored in an airtight container in the fridge for up to two weeks.
→ Can I make these vegan?
Absolutely! Use maple syrup and confirm that the chocolate chips are dairy-free.
→ Is there a substitute for peanut butter?
Almond butter or cashew butter work well as alternatives for a different flavor.
Homemade Peanut Butter Cups with Oats
What You'll Need
Ingredients
- 1 cup peanut butter (creamy or crunchy)
- 1/2 cup rolled oats
- 1/4 cup honey or maple syrup
- 1/2 teaspoon vanilla extract
- 1 cup dark chocolate chips
How-To Steps
Melt the dark chocolate chips in a microwave or a double boiler until smooth. Allow it to cool slightly.
In a bowl, combine the peanut butter, rolled oats, honey, and vanilla extract. Mix well until you achieve a uniform consistency.
Pour a layer of melted chocolate into the bottom of a muffin tin or silicone mold. Use a spoon to spread it evenly.
Scoop the peanut butter mixture into each mold, covering it with the remaining melted chocolate.
Refrigerate the molds for at least 15 minutes, or until the chocolate has fully hardened.
Carefully remove the cups from the molds and enjoy your delicious homemade peanut butter cups!
Extra Tips
- Feel free to experiment with different nut butters or add-ins like shredded coconut or chopped nuts for extra texture.
Nutritional Breakdown (Per Serving)
- Calories: 200 kcal
- Total Fat: 14g
- Saturated Fat: 3g
- Cholesterol: 0mg
- Sodium: 50mg
- Total Carbohydrates: 18g
- Dietary Fiber: 2g
- Sugars: 7g
- Protein: 5g