Homemade Peanut Butter Cups with Sea Salt
Highlighted under: Sweet Oven Stories
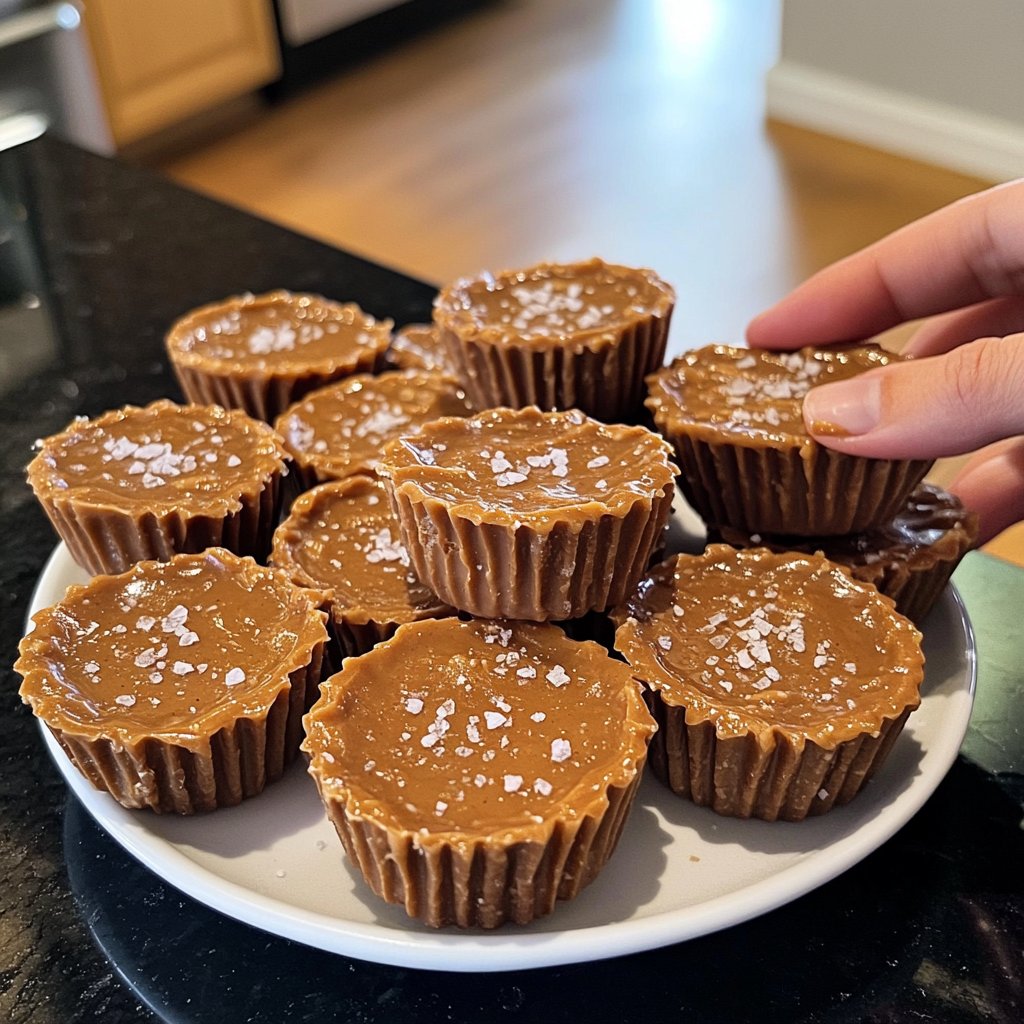
I absolutely love making these Homemade Peanut Butter Cups with Sea Salt, as they combine rich chocolate with the creamy texture of peanut butter. The touch of sea salt elevates the flavors perfectly, creating a mouthwatering treat that’s hard to resist. When I first decided to create this recipe, I found that using high-quality chocolate made all the difference in achieving a luxurious finish. These cups are great for satisfying sweet cravings, sharing with friends, or simply indulging in a well-deserved treat.

When I first started making these Homemade Peanut Butter Cups with Sea Salt, I wanted to recreate the classic store-bought version but with wholesome ingredients. I experimented with different types of chocolate and ratios of peanut butter until I found the perfect balance. Using smooth peanut butter ensures a creamy bite, while the sea salt enhances the sweetness beautifully.
Another tip I discovered is pouring a thin layer of melted chocolate at the bottom of each cup before adding the peanut butter layer. This not only helps to seal in the filling but also gives an added crunch when you take a bite. It’s a small step that makes a huge difference!
Why You'll Love This Recipe
- Rich chocolate flavor enhanced with sea salt
- Creamy peanut butter filling that delights the senses
- Quick and easy to make at home, with no special equipment needed
The Importance of Quality Chocolate
When making Homemade Peanut Butter Cups, the choice of chocolate plays a pivotal role in determining the overall flavor and texture. I recommend using high-quality chocolate chips, either dark or semi-sweet, as they melt smoothly and offer richer flavor than lower-quality options. Look for brands with a higher cocoa content, as these provide a deeper chocolate experience that balances well with the sweetness of the peanut butter.
Melt the chocolate slowly to avoid seizing or burning. Using a microwave in 30-second increments helps maintain control over the temperature, ensuring the chocolate is glossy and smooth. If you see tiny specks of solid chocolate that won’t melt completely, continue to stir until they disappear. This is key for the perfect chocolate coating that sets well and has a nice, shiny finish.
Perfecting Your Peanut Butter Filling
The peanut butter filling is the heart of these cups. For the best texture, use smooth peanut butter rather than chunky, as it creates a silky filling that contrasts beautifully with the chocolate. The powdered sugar helps sweeten and stabilize the mixture, providing just the right balance against the rich chocolate layer. If you prefer a less sweet option, adjust the sugar down slightly, but be aware this might affect the creaminess.
Mix thoroughly until there are no lumps in your peanut butter mixture. This ensures a consistent texture throughout your cups. If you desire a touch of added flavor, consider incorporating a pinch of vanilla extract into the filling—it enhances the overall taste without overwhelming the primary flavors.
Storage and Serving Suggestions
Once your Homemade Peanut Butter Cups are set, they can be stored in an airtight container in the refrigerator for up to two weeks. This makes them a great make-ahead treat for special occasions or everyday cravings. For longer storage, you can freeze the cups. Just wrap them individually in plastic wrap and place them in a freezer-safe container. They’ll keep well for about three months—simply thaw at room temperature before enjoying.
For an extra touch when serving, consider drizzling some melted chocolate on top or adding a sprinkle of finely chopped nuts for texture. These cups also make for excellent gifts; package them in a decorative box with a touch of sea salt on top for an impressive presentation that highlights their homemade charm.
Ingredients
For the Peanut Butter Cups
- 1 cup smooth peanut butter
- 1 cup chocolate chips (dark or semi-sweet)
- 2 tablespoons powdered sugar
- 1/4 teaspoon sea salt
- 1 tablespoon coconut oil (optional, for smoothness)
Mix the ingredients well and prepare to enjoy!
Instructions
Prepare the Chocolate Layer
In a microwave-safe bowl, melt half of the chocolate chips along with the coconut oil in 30-second increments, stirring until smooth. Pour a small amount of melted chocolate into the bottom of each cup in a muffin tin, spreading it with a spoon if necessary. Let it set in the fridge for about 10 minutes.
Make the Peanut Butter Filling
In another bowl, mix together the peanut butter, powdered sugar, and sea salt until well combined. Remove the muffin tin from the fridge when the chocolate layer is firm.
Assemble the Cups
Scoop a spoonful of the peanut butter mixture and place it on top of the chocolate layer in each cup, pressing it down gently. Melt the remaining chocolate chips and pour over the peanut butter filling to cover it completely. Smooth the top with a spatula if needed.
Chill and Serve
Return the muffin tin to the fridge and chill for at least 15 minutes, or until the chocolate is fully set. Once firm, remove the cups from the tin, sprinkle with a touch more sea salt if desired, and enjoy!
Store leftover cups in an airtight container in the refrigerator.
Pro Tips
- For an extra crunch, consider adding chopped nuts to the peanut butter mixture or using crunchy peanut butter for a different texture.
Troubleshooting Tips
If the chocolate doesn’t set properly, it may be due to moisture contamination. Ensure that all your utensils and the bowls used for melting chocolate are completely dry. If you face this issue, simply re-melt the chocolate and try pouring a new layer over the set peanut butter once it cools slightly, ensuring a better seal.
Another common issue is the peanut butter filling spilling over the chocolate layer. Be careful not to overfill the cups during assembly. A heaping tablespoon of peanut butter is usually sufficient, allowing you to press it down gently without overflowing during chocolate pouring.
Variations to Try
Looking to change things up? Experiment with different nut butters, like almond or cashew, to create unique flavor profiles. You can even add chocolate chips or crushed pretzels into the peanut butter filling for added texture and flavor contrasts. Just remember, if you’re using a runnier nut butter, it may require adjusting the powdered sugar for stability.
For a vegan version, swap out the chocolate chips for dairy-free alternatives and ensure you are using pure maple syrup or agave instead of powdered sugar. This not only makes the recipe vegan but also provides a slightly different depth of flavor that can be quite enjoyable.
Scaling the Recipe
This recipe is easily scalable! To make a larger batch for gatherings, simply double or triple the ingredients accordingly. Keep in mind, when using larger muffin tins or special molds, you may need to adjust the chocolate melting and setting times slightly. Always keep an eye on the chocolate layer, as larger molds take a bit longer to set.
For smaller servings, consider using mini muffin tins to create bite-sized cups. Just reduce the chocolate and peanut butter amounts proportionately, and keep an eye on the setting time, as smaller cups will set faster. This is a fun way to offer a range of flavors or keep them as small treats during parties.
Questions About Recipes
→ Can I use milk chocolate instead of dark chocolate?
Absolutely! Milk chocolate will give a sweeter flavor, while dark chocolate adds a deeper richness.
→ How long do these peanut butter cups last?
They can stay fresh in the refrigerator for up to 2 weeks, though they rarely last that long!
→ Can I make these vegan?
Yes! Use dairy-free chocolate chips and ensure your peanut butter is free from any added dairy.
→ What can I substitute for powdered sugar?
You can use maple syrup or agave nectar for a healthier alternative, just be mindful of the consistency.
Homemade Peanut Butter Cups with Sea Salt
What You'll Need
For the Peanut Butter Cups
- 1 cup smooth peanut butter
- 1 cup chocolate chips (dark or semi-sweet)
- 2 tablespoons powdered sugar
- 1/4 teaspoon sea salt
- 1 tablespoon coconut oil (optional, for smoothness)
How-To Steps
In a microwave-safe bowl, melt half of the chocolate chips along with the coconut oil in 30-second increments, stirring until smooth. Pour a small amount of melted chocolate into the bottom of each cup in a muffin tin, spreading it with a spoon if necessary. Let it set in the fridge for about 10 minutes.
In another bowl, mix together the peanut butter, powdered sugar, and sea salt until well combined. Remove the muffin tin from the fridge when the chocolate layer is firm.
Scoop a spoonful of the peanut butter mixture and place it on top of the chocolate layer in each cup, pressing it down gently. Melt the remaining chocolate chips and pour over the peanut butter filling to cover it completely. Smooth the top with a spatula if needed.
Return the muffin tin to the fridge and chill for at least 15 minutes, or until the chocolate is fully set. Once firm, remove the cups from the tin, sprinkle with a touch more sea salt if desired, and enjoy!
Extra Tips
- For an extra crunch, consider adding chopped nuts to the peanut butter mixture or using crunchy peanut butter for a different texture.
Nutritional Breakdown (Per Serving)
- Calories: 150 kcal
- Total Fat: 10g
- Saturated Fat: 2g
- Cholesterol: 0mg
- Sodium: 60mg
- Total Carbohydrates: 15g
- Dietary Fiber: 1g
- Sugars: 8g
- Protein: 4g